

Display calibration technical explanation

The eye and display brightness
If the light level coming from your display is set too high, you will not not see what you're supposed to see.
A reference calibration means your display and the room where you use it provides an environment where your eyes do not have to keep re-calibrating themselves.
Watching TV is not like real life, the speed that light changes on screen and that you often have both dark and bright lighting of a scene causes problems for the human eye in that the retina can't respond fast enough.
Your iris opens and closes to changes in light intesity in a split second, If the light level is bright, your iris closes. If the light level is low, it opens. It takes longer for your retina to adjust to light changes; much longer. That causes tempory blindness as your retina gets overwhelmed.
So if your display is too bright, you really do not see what you are supposed to see.

The eye and colour
Light that enters the eye through the pupil ultimately strikes the retina. The retina is lined with a variety of light sensing cells known as rods and cones. The rods on the retina are sensitive to the intensity of light, the cones are the colour sensing cells of the retina. There are three kinds of cones red, green, and blue.
The human eye has some 120 million rods and around 6 million cones. About 64% of the cones are red-sensitive, about 32% green sensitive and about 2% are blue sensitive. The "blue" cones have the highest sensitivity. There are fewer blue cones, but the blue sensitivity is comparable to the others. So in the final visual perception, the three types of cones seem to be comparable.
The standard RGB colour system is based on the fact that all colours of light can be represented as combinations of these three colours.

Your eyes behaviour
In natural daylight, ambient light levels will be too strong to see detail in darker scenes on a TV set. Daylight is always changing, which is why any serious viewing is done with controlled low lighting levels. A brighter daylight setting is usually created but is far less critical than your night setting.
The iris of your eyes opens and closes depending on the light level it encounters. Your display is a light source that you can be staring at for hours, so the brightness needs to be set to a correct and comfortable level.
The rods and cones on your retina need to work together to see, and the rods are more sensitive than the cones. If you go into a darkened room, e.g. a cinema, it takes time for your rods and cones to balance and work together in the lower light. The cones, which provide colour information, need more light and do not work so well in the dark. Your rods need less light to work, but they need about 7-10 minutes to balance or “desensitize” to work with the cones in these conditions.
Afterimages occur because photochemical activity in the retina continues even when you are no longer experiencing the original stimulus. Close your eyes after looking at a bright image, an afterimage is area that seems to float before one's eyes after briefly looking at an area of the image that is too bright for the overall light ambience where your display is.
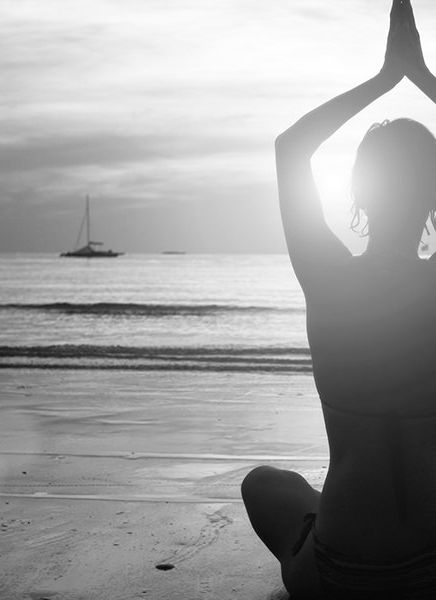
These images show examples of the way a camera iris responds to light. Your eye is similar, however your eyes are linked to your brain that will tell you to look away if the incoming light is too bright.
This means your retina does not adjust quickly enough when the content cuts back and forth from a bright frame to a dark one, and you will not see the dark detail because your retina cannot recover.
A good example is when you leave the low light environment of a cinema, as you walk through the exit doors into the outside world, everything looks very bright and your eye becomes overwhelmed. This is because the rods become “saturated” and are over sensitive in the new bright conditions. Again it takes several minutes to balance with the cones, and normal vision to be restored. Your rods and cones are constantly calibrating themselves to work properly together.
A reference calibrated “night setting” is done for darker rooms. That is when ambient light level of your viewing environment can be controlled. And your ambient room light should be controlled for your eyes to be able to process what is seen on your TV screen. Ambient room light should be at a 10% level compared to daylight. Watching your display in a bright environment such as daylight, your iris closes letting less light in, meaning that you simply won’t see the darker areas of the picture.
Watching a display (apart from a projector) in the dark is just as bad. With dark scenes, your iris will open up too much and then has to react and close when the content changes to a bright scene.
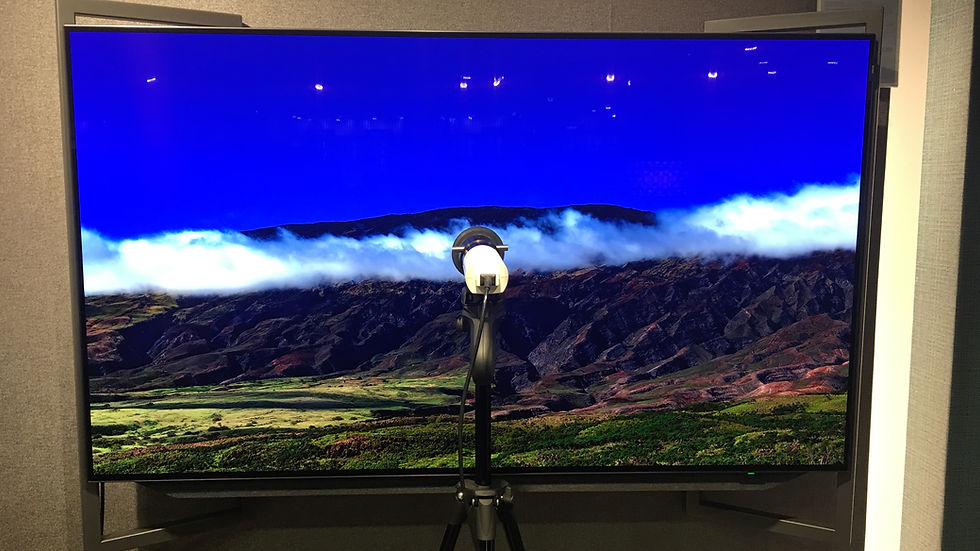
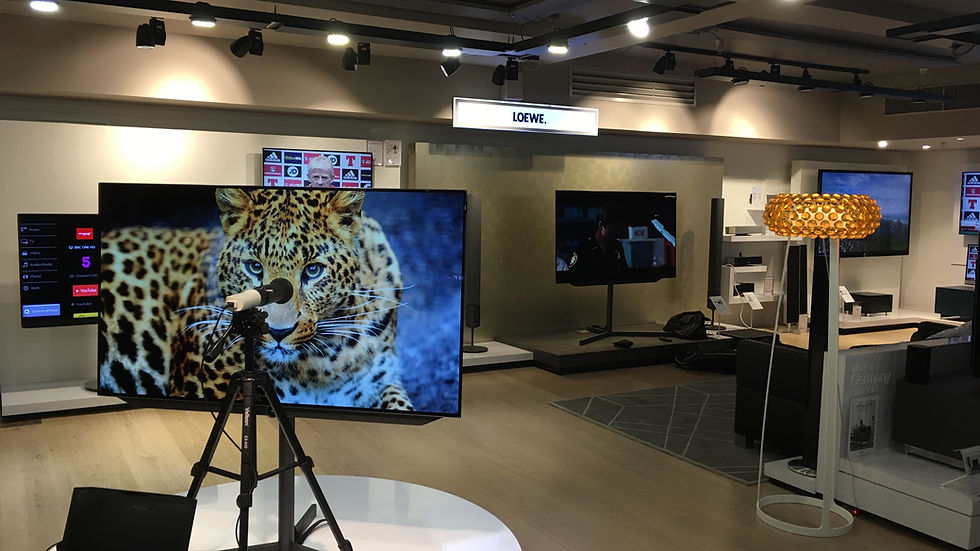
This image shows a correct coloured light behind the display. The light colour of 6500k is lit at 10% of the maximum display brightness from behind the display. This will give more contrast and pop to the image and is how proffessional grading suites are configured.
A comfortable environment is all about relaxing your eyes allowing you to engage with the content you are watching.

To sum this up, if your display is too bright your iris will open and close too much and that fatigues the iris muscles causing tiredness and headaches. Your retina will not be able to balance the rods and cones quickly enough so you won’t see shadow detail.
This is even more of an issue with HDR content as many believe that HDR is all about brightness.

Reference colour and skin tone image

3 types of skin tone with greyscale balance
Colour checker following calibration
Reference colour and skin tone image
The calibration process
To calibrate a display to the correct ISF/THX industry standards takes around 2-6 hours dependent on the amount of adjustments provided on your display, how it behaves, how many sources you have connected and of course 3D.
The equipment we use to take the readings is highly accurate professional calibration equipment.
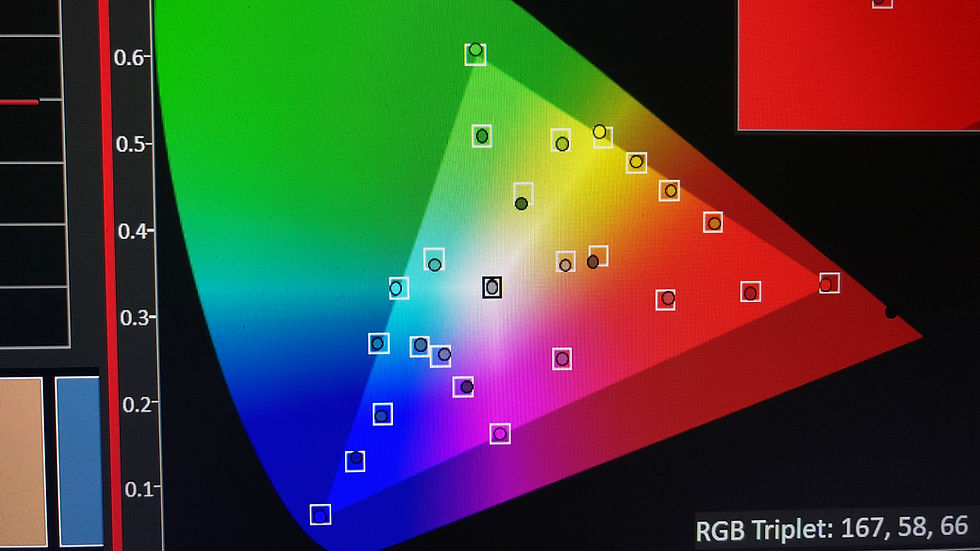
The images above are various charts and test images used during the calibration process. The pictures are ISF reference images and are used to evaluate performance before, during and after the process.
The real example chart are measurements from a LG C7 oled disaplay showing pre calibration and post calibration results of one of the ISF professional pre-sets.
Calibration measurements
The colour pictures you see on today’s modern displays are actually in two parts. They are black and white, with colour information laid on top. Not only that, the colour green is not broadcast, it is stripped out at transmission and is put back by your display’s colour decoder. (Image set 1) Green is stripped out to save on bandwidth and splitting colour and luminance means transmissions are backward compatible with the black and white format. This technology is from 1929!
Your colour TV is not natively black and white though, so the colour decoder has to be set up properly with the correct mixture of red green and blue at all light levels, the RGB colour system.
The first stage of the process is measuring the display’s starting point. Calibration is the measurement of something against a known standard.
Once we learn what the display is doing, we then set about making the corrections.
The adjustments start with the setting of the set’s dynamic range. This is the difference between the darkest and the lightest parts of the image, and is done by setting the black level (brightness) and white level (contrast).
Remember, this setting is key to working with your iris and retina in the environment where your TV is. It’s one of the reasons why ISF calibration can’t be done in the factory. The other is the factory does not have your attached system.
Next is greyscale, which is the black and white part of the picture. This is absolutely critical. If this is wrong it doesn’t matter what else you adjust nothing will be right. Image set 2 are from a 65 LG Oled with the before image on the left using shared settings off the internet, the white level was set too high causing the red chanel to clip and cause tinting in bright parts of the picture.
If the greyscale is not correct then there is zero chance of getting colour correct.
Image set 1
Image set 2
Finally you have gamma (image set 3), which is the speed at which the image comes out of black. This is important for shadow detail and contrast. It is critical that the set’s greyscale, colour and gamma all track correctly together for a high fidelity image.
On a set with a comprehensive set of controls there can be more than 80 adjustments to make, and they all have to be blended together to give the required result. Getting the balance between greyscale and gamma wrong will cause colour banding and poor colour shading which is exactly what you can see with image set4. Many “DIYers” or less experienced calibrators, make this mistake by simply settling for a perfect set of measurement charts from static test patterns instead of looking how at the picture behaves with real moving content.
What you see here is agressive settings used to get a nice flat set of calibration charts. Now they may well have achived these nice charts but settings such as white level and black levels have been set incorrectly resulting in scewed tracking meaning that you see the colour transition errors in the skin tones because there are colour tints being created because of clour clipping like the example shown in image group 2.
These charts only form a small part of the calibration process.
There’s also an element of personal taste with some of the settings. So as long as your display’s critical greyscale, colour and gamma settings are tracking correctly we can then work together to make these final adjustments.
We spend plenty of time during the calibration process watching a veriety of content from a veriety of sources to visually check that the set is tracking correctly.
After all no meter is as sensitive or accurate as your eyes.
Image set 3
Image set 4
High Dynamic Range
Now we are finally moving away from our 1929 technology and moving into a whole new world of High Dynamic Range (HDR) images.
This brings a whole new range of challanges in order to produce an image that looks dynamic, has rich deep colour along with enhanced shadow detail with brighter images.
Yet all of perameters that need to be taken into account with our existing Standard Dynamic Range (SDR) images still apply, especially ensuring that our eyes can comfortably view an HDR image.
You can find out more about HDR here.
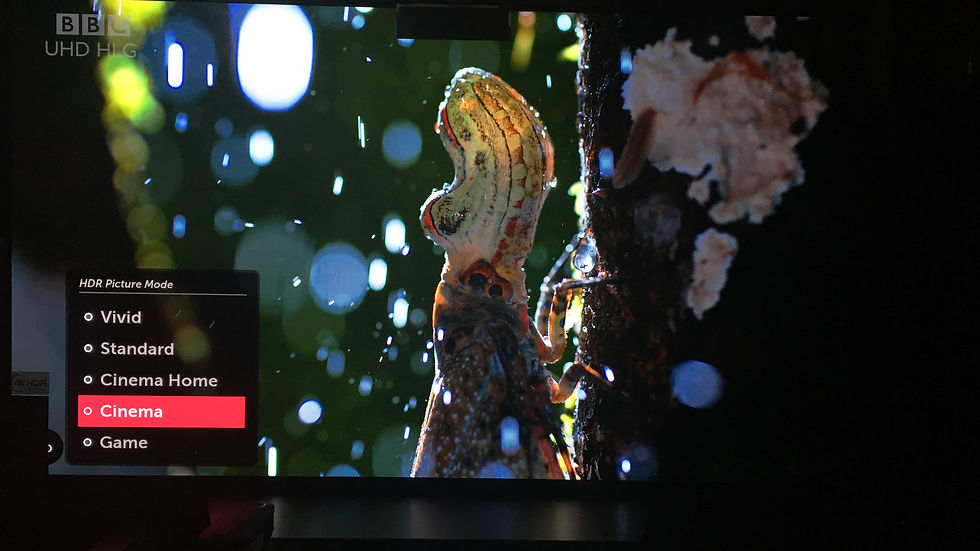
Broadcast Hybrid Log Gamma HDR on a LG 55C7 from BBC iplayer
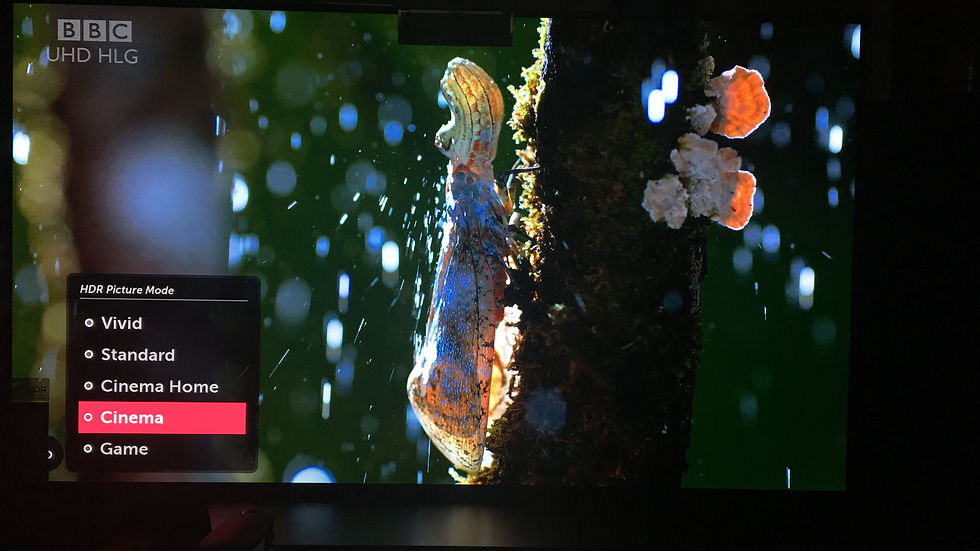
Broadcast Hybrid Log Gamma HDR on a LG 55C7 from BBC iplayer
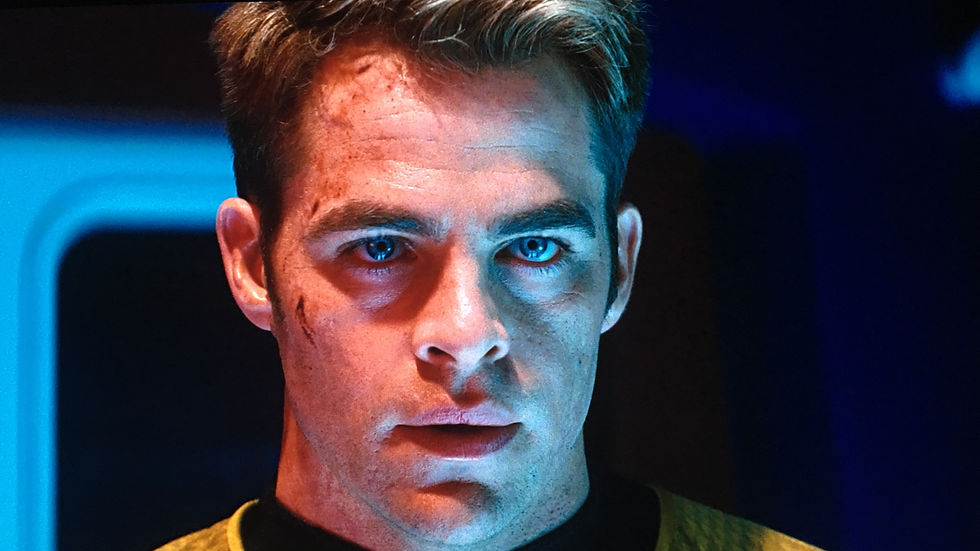
HDR 10 From an Oppo 205 4K UHD player on a Loewe Bild7.65
Broadcast Hybrid Log Gamma HDR on a LG 55C7 from BBC iplayer
Contact us
Call 07540 691636 to discuss your calibration
Or send us a message using the contact form below